Surprisingly, Apple has changed the way to edit hosts file in Mac OS X Lion. Earlier, we used to go into /private/etc/hosts, copy the hosts file on Desktop, edit and replace it with the modified one through administrator permission. Today, when i tried to follow the same process after ages in Mac OS X Lion, i encountered ‘file is already in use’ error.
I kept on trying it for multiple times but error remained intact. Then I came across another way to modify Hosts file without copying and replacing it to another location. Fortunately, this process works in Mac OS X Lion. Just follow the tutorial below:
1) Open Terminal, you can find it under Applications>Utilities>Terminal
2) copy paste this command – sudo nano /etc/hosts
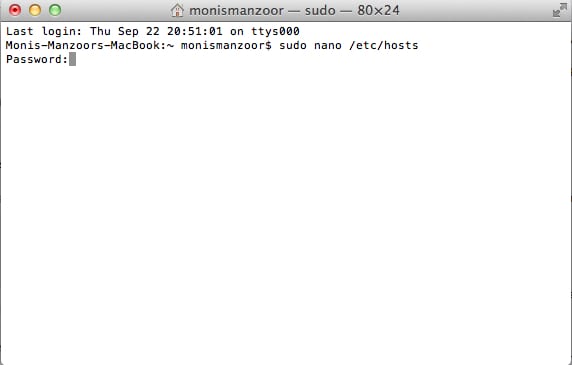
3) Enter password when it asks you for it.
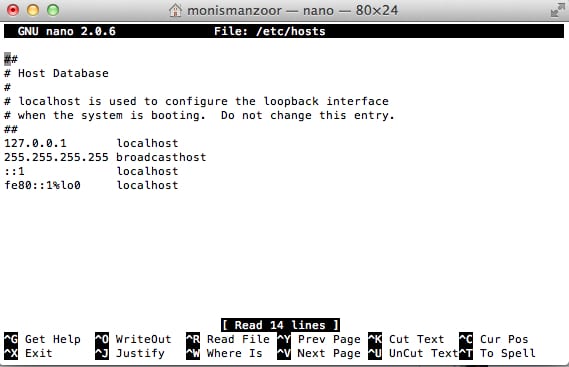
4) Now, you would see your hosts file opened in the Terminal itself. Use the cursor/arrow keys to navigate to specific position.
5) Press control+X to save the changes. Then press ‘Y’ for Yes.
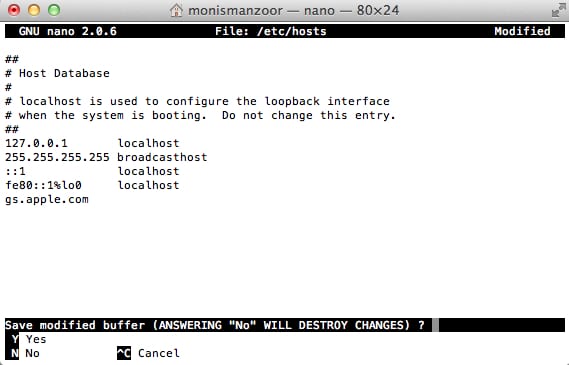
6) After it, press Enter.
Now checkout your host file again from /etc/hosts through finder. You would be able to see the changes. This will help you to include “gs.apple.com xx.xx.xx.xx” for the downgrade process of iPhone in iTunes. Enjoy 🙂